1. 50% Deposit Payment
A 50% deposit is required before I can start on your project. This obviously doesn’t mean that you can’t contact me to discuss a project before paying a 50% deposit.
2. Briefing For Project
This is where you tell me everything you know about your mascot/character.
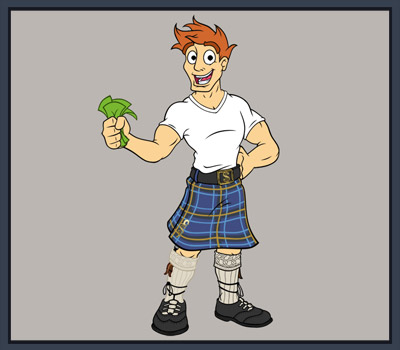
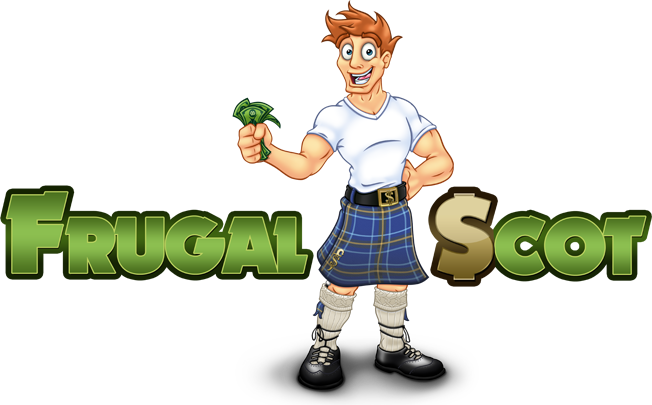
For example the client of a mascot character I designed called ‘Frugal Scot’ asked for him to be tall with a highland game/superhero physique, short red hair, happy because he is saving people money, wearing a kilt and a white t-shirt.
3. Early Character Sketches
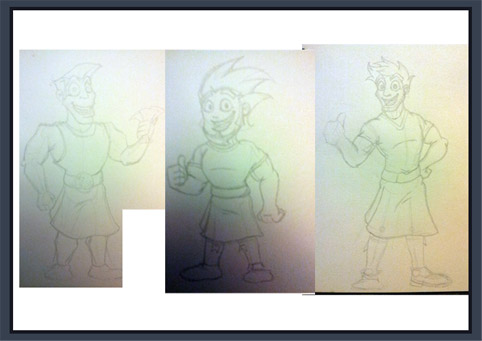
After the intial brief I sketch up some characters for you, examples below:
4. Refining Chosen Character & Pose
After you have chosen from one of the sketches it can sometimes take more sketches in order to tweak the character or work on their poses. Frugal Scot took 3 sketch ideas before the client said ‘’That’s the one’’, sometimes it takes more sketches.
5. Inking Stage
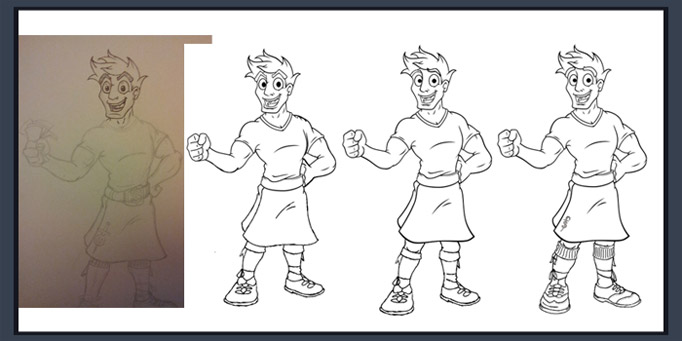
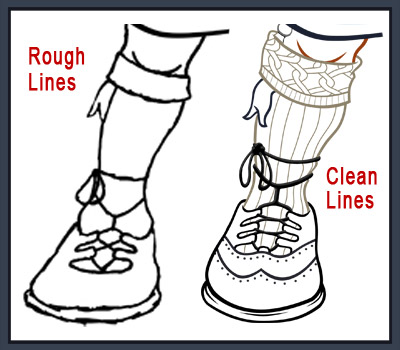
Here I start working on the line art, probably the longest part of the design. This is where I go over my rough
sketch and ink in nice clean lines, see example below.
6. Adding Base Colours
Here I start adding the base flat colours, the client can pick their own colours or if they choose, they can just leave it to me.
7. Rendering Stage
Now this is when the mascot/character really starts to come alive. All the shading, lighting, textures and effects are done in this stage. This is why there is an extra charge if the client decides they want something changed after this point of the process.
8. Final Payment
Once the client has approved the final design, full payment will be required before files can be delivered.
9. Transfer Of Files
Once payment has cleared, files are sent to the client. Let me know if there are any other formats you would like to receive your mascot/character in and I will do my best to provide them for you.

